Pressure Canned Venison
A simple method to preserve your harvest.
Canned venison is great to have on hand for those days where time gets away from you and before you know it, it’s dinner time and you don’t have anything thawed out! There have been many nights just like that since starting to can our venison and we’ve been so thankful that we have this ready to eat meat. It makes a quick meal with some egg noodles and instant gravy.
All you need is some fresh venison chunks, salt, canning jars and lids, and a pressure canner.
Meat needs to be pressure canned in order to be safe for consumption. By cooking under pressure, the meat is cooked at a higher temperature (240°) than just water bath canning (212°). Botulism can be killed at the temperature of boiling water however botulism spores require the higher temperature of a pressure canner.
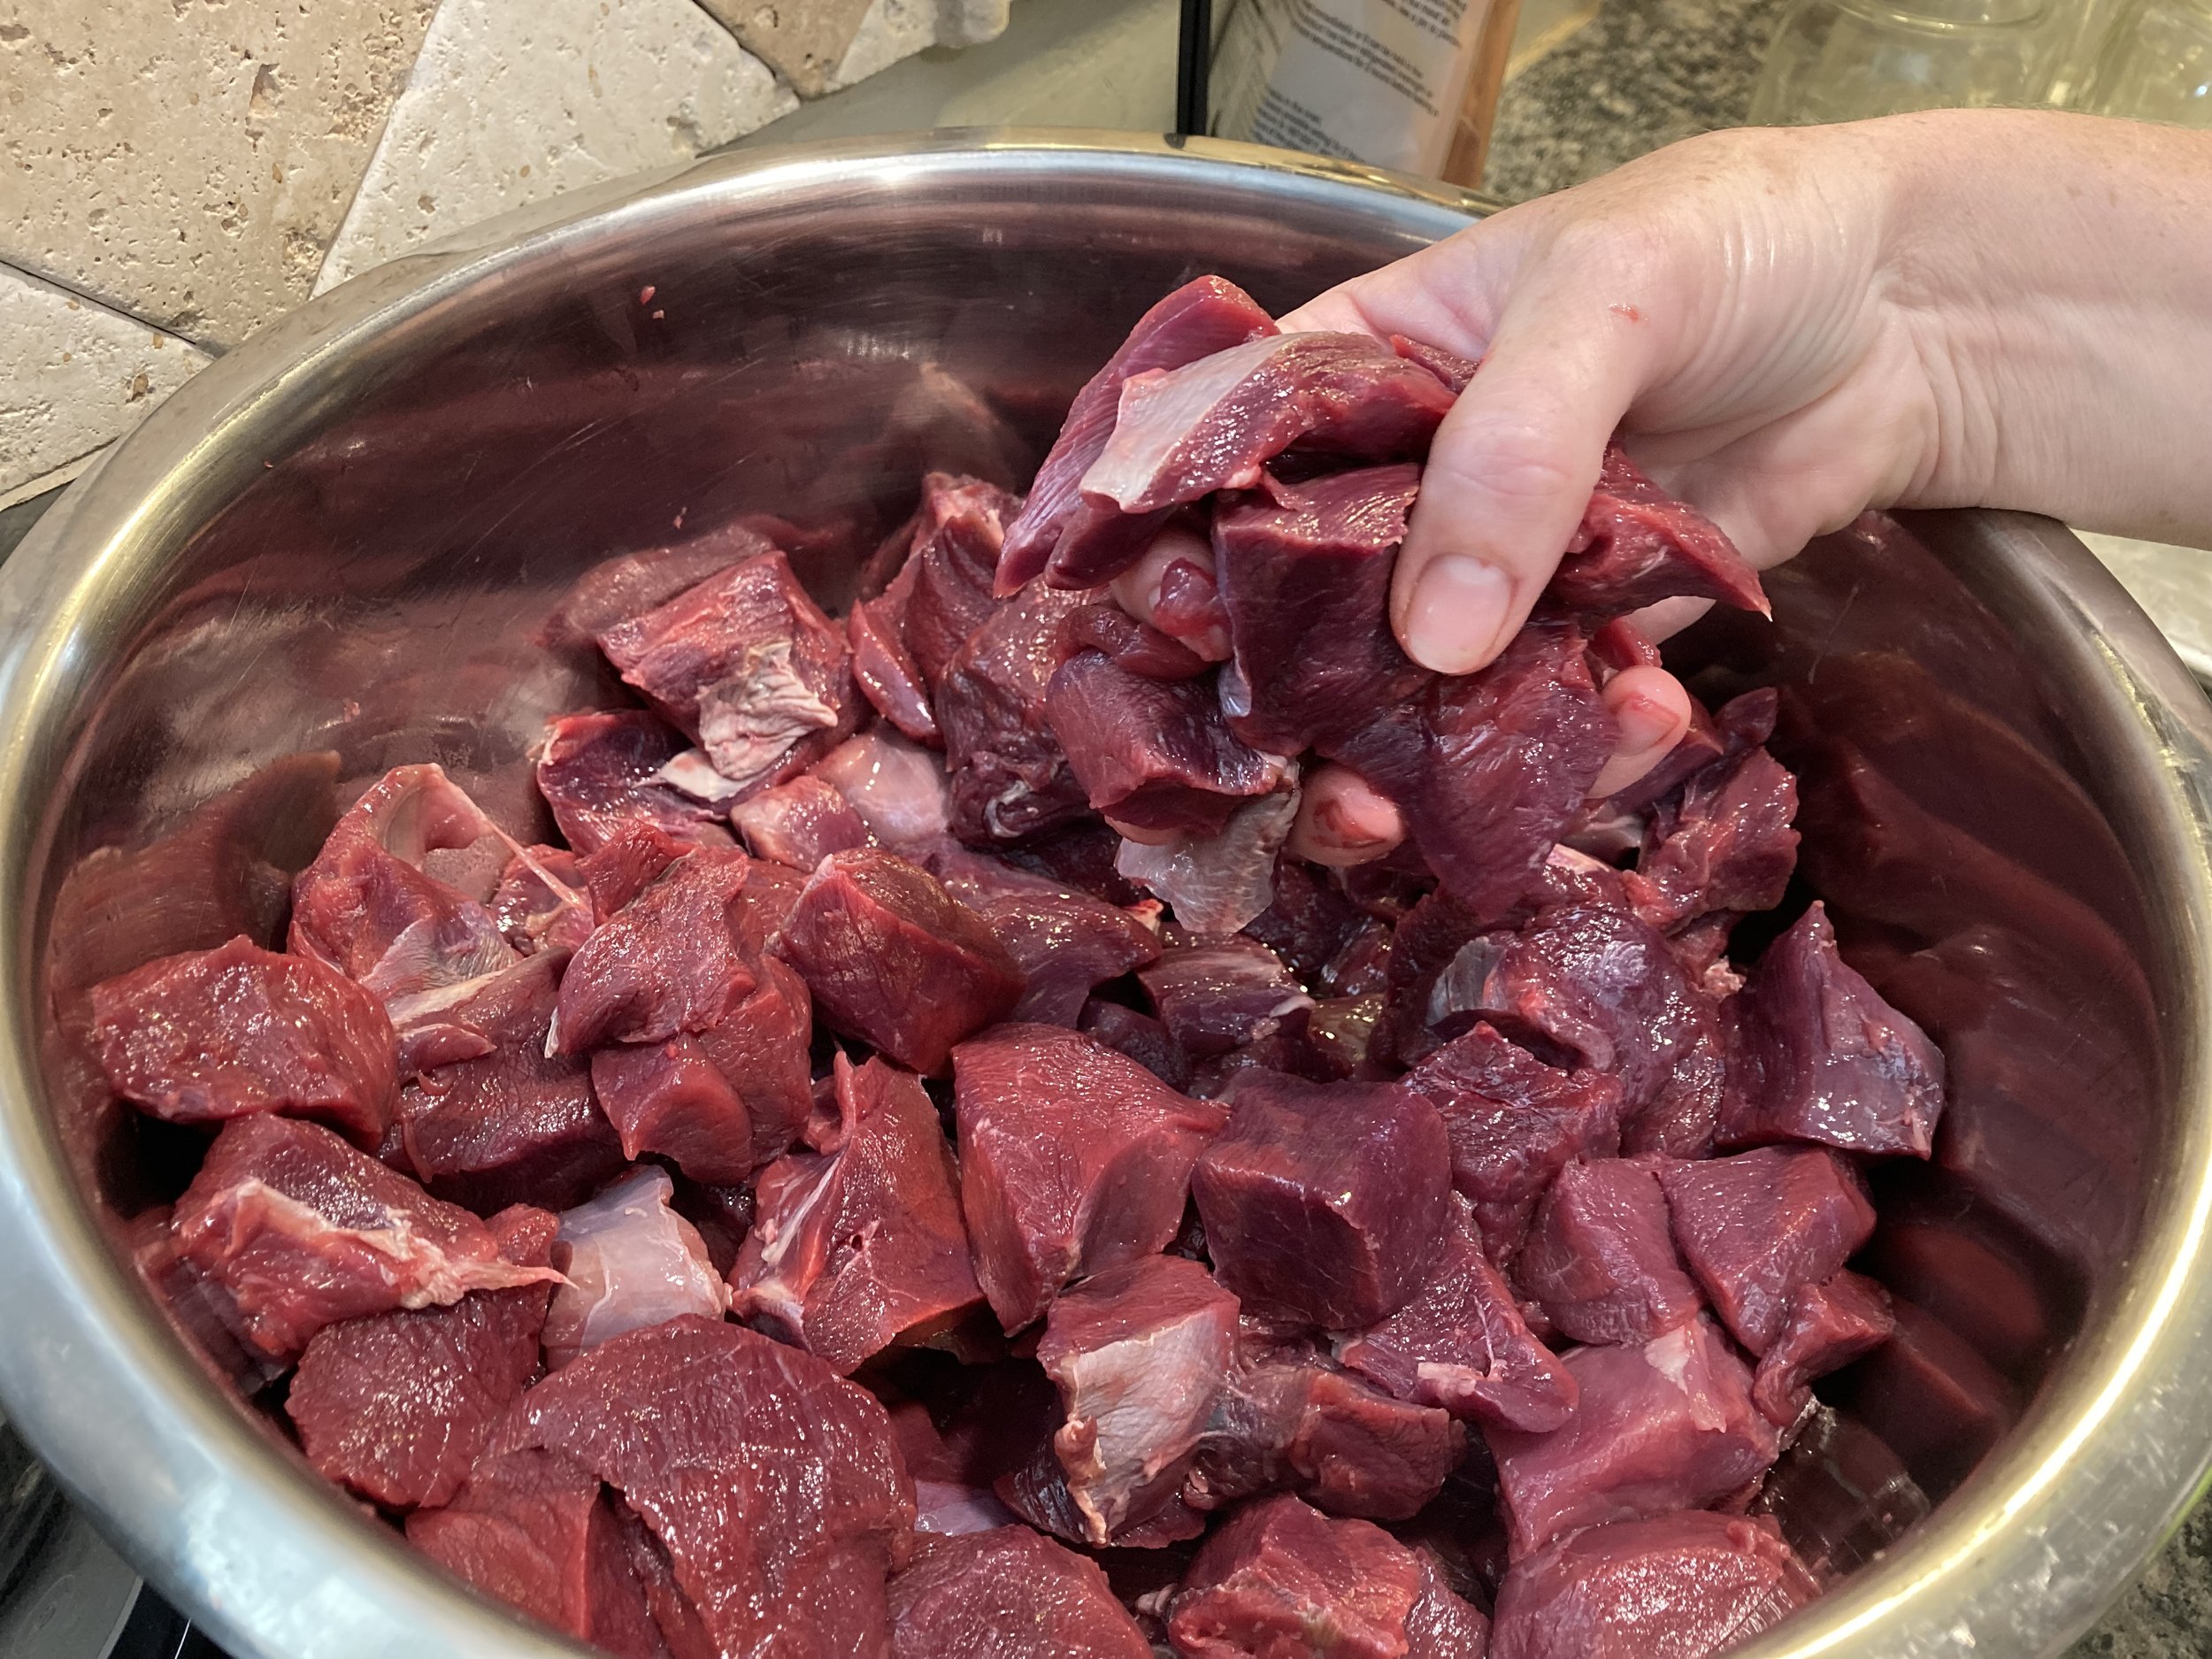
Begin by trimming the venison of all fat and cutting into 1” chunks. Then fill you pint size jars with 1/2 teaspoon of salt, or quart jars with 1 teaspoon of salt. I use kosher, but any non iodized salt will work. Then add your meat. Press the meat down filling all of the cavities and making sure there aren’t air holes or empty spaces.
Once the jars are full, using a damp rag wipe the rims clean. A dirty rim can cause your jars not to seal. Then place the flat lid on top and tighten the ring lid to finger-tip tight.
Following the directions on your pressure canner, load it up and get canning! For my Presto canner with a pressure gauge, those directions are as follows:
Fill with water to the bottom line inside the canner. I have hard water so I always add a splash of vinegar to my water to avoid hard water stains on my jars. Then I put my canner on heat and load it up. My canner will hold 20 pint jars double stacked. I had enough meat to fill 18 pint jars. Once the canner is loaded, lock the lid into place. Allow steam to vent out of the hole in the lid for 10 minutes before adding the weight. Once you add the weight the pressure will start to climb. Maintain 11lbs of pressure for 75 minutes for pints or 90 minutes for quarts. It’s ok if your pressure goes above 11lbs. It’s very hard on my stove top to maintain 11lbs, mine usually sits around 13lbs. If at any time your pressure drops below 11lbs you will need to restart your timer, so keep a close watch.
The pressure required may be different depending on your altitude. I am at sea level, so check with your pressure canner or the USDA website for altitude adjustments.
Once the time is up remove the canner from the heat. Do not remove the weight yet. Once the pressure lock has dropped then you can remove the weight. Allow another 10 minutes for the pressure to regulate before removing the lid. Releasing pressure too quickly can result in syphoning. Basically all of the liquid in the jars will boil out, leaving you with dry meat.
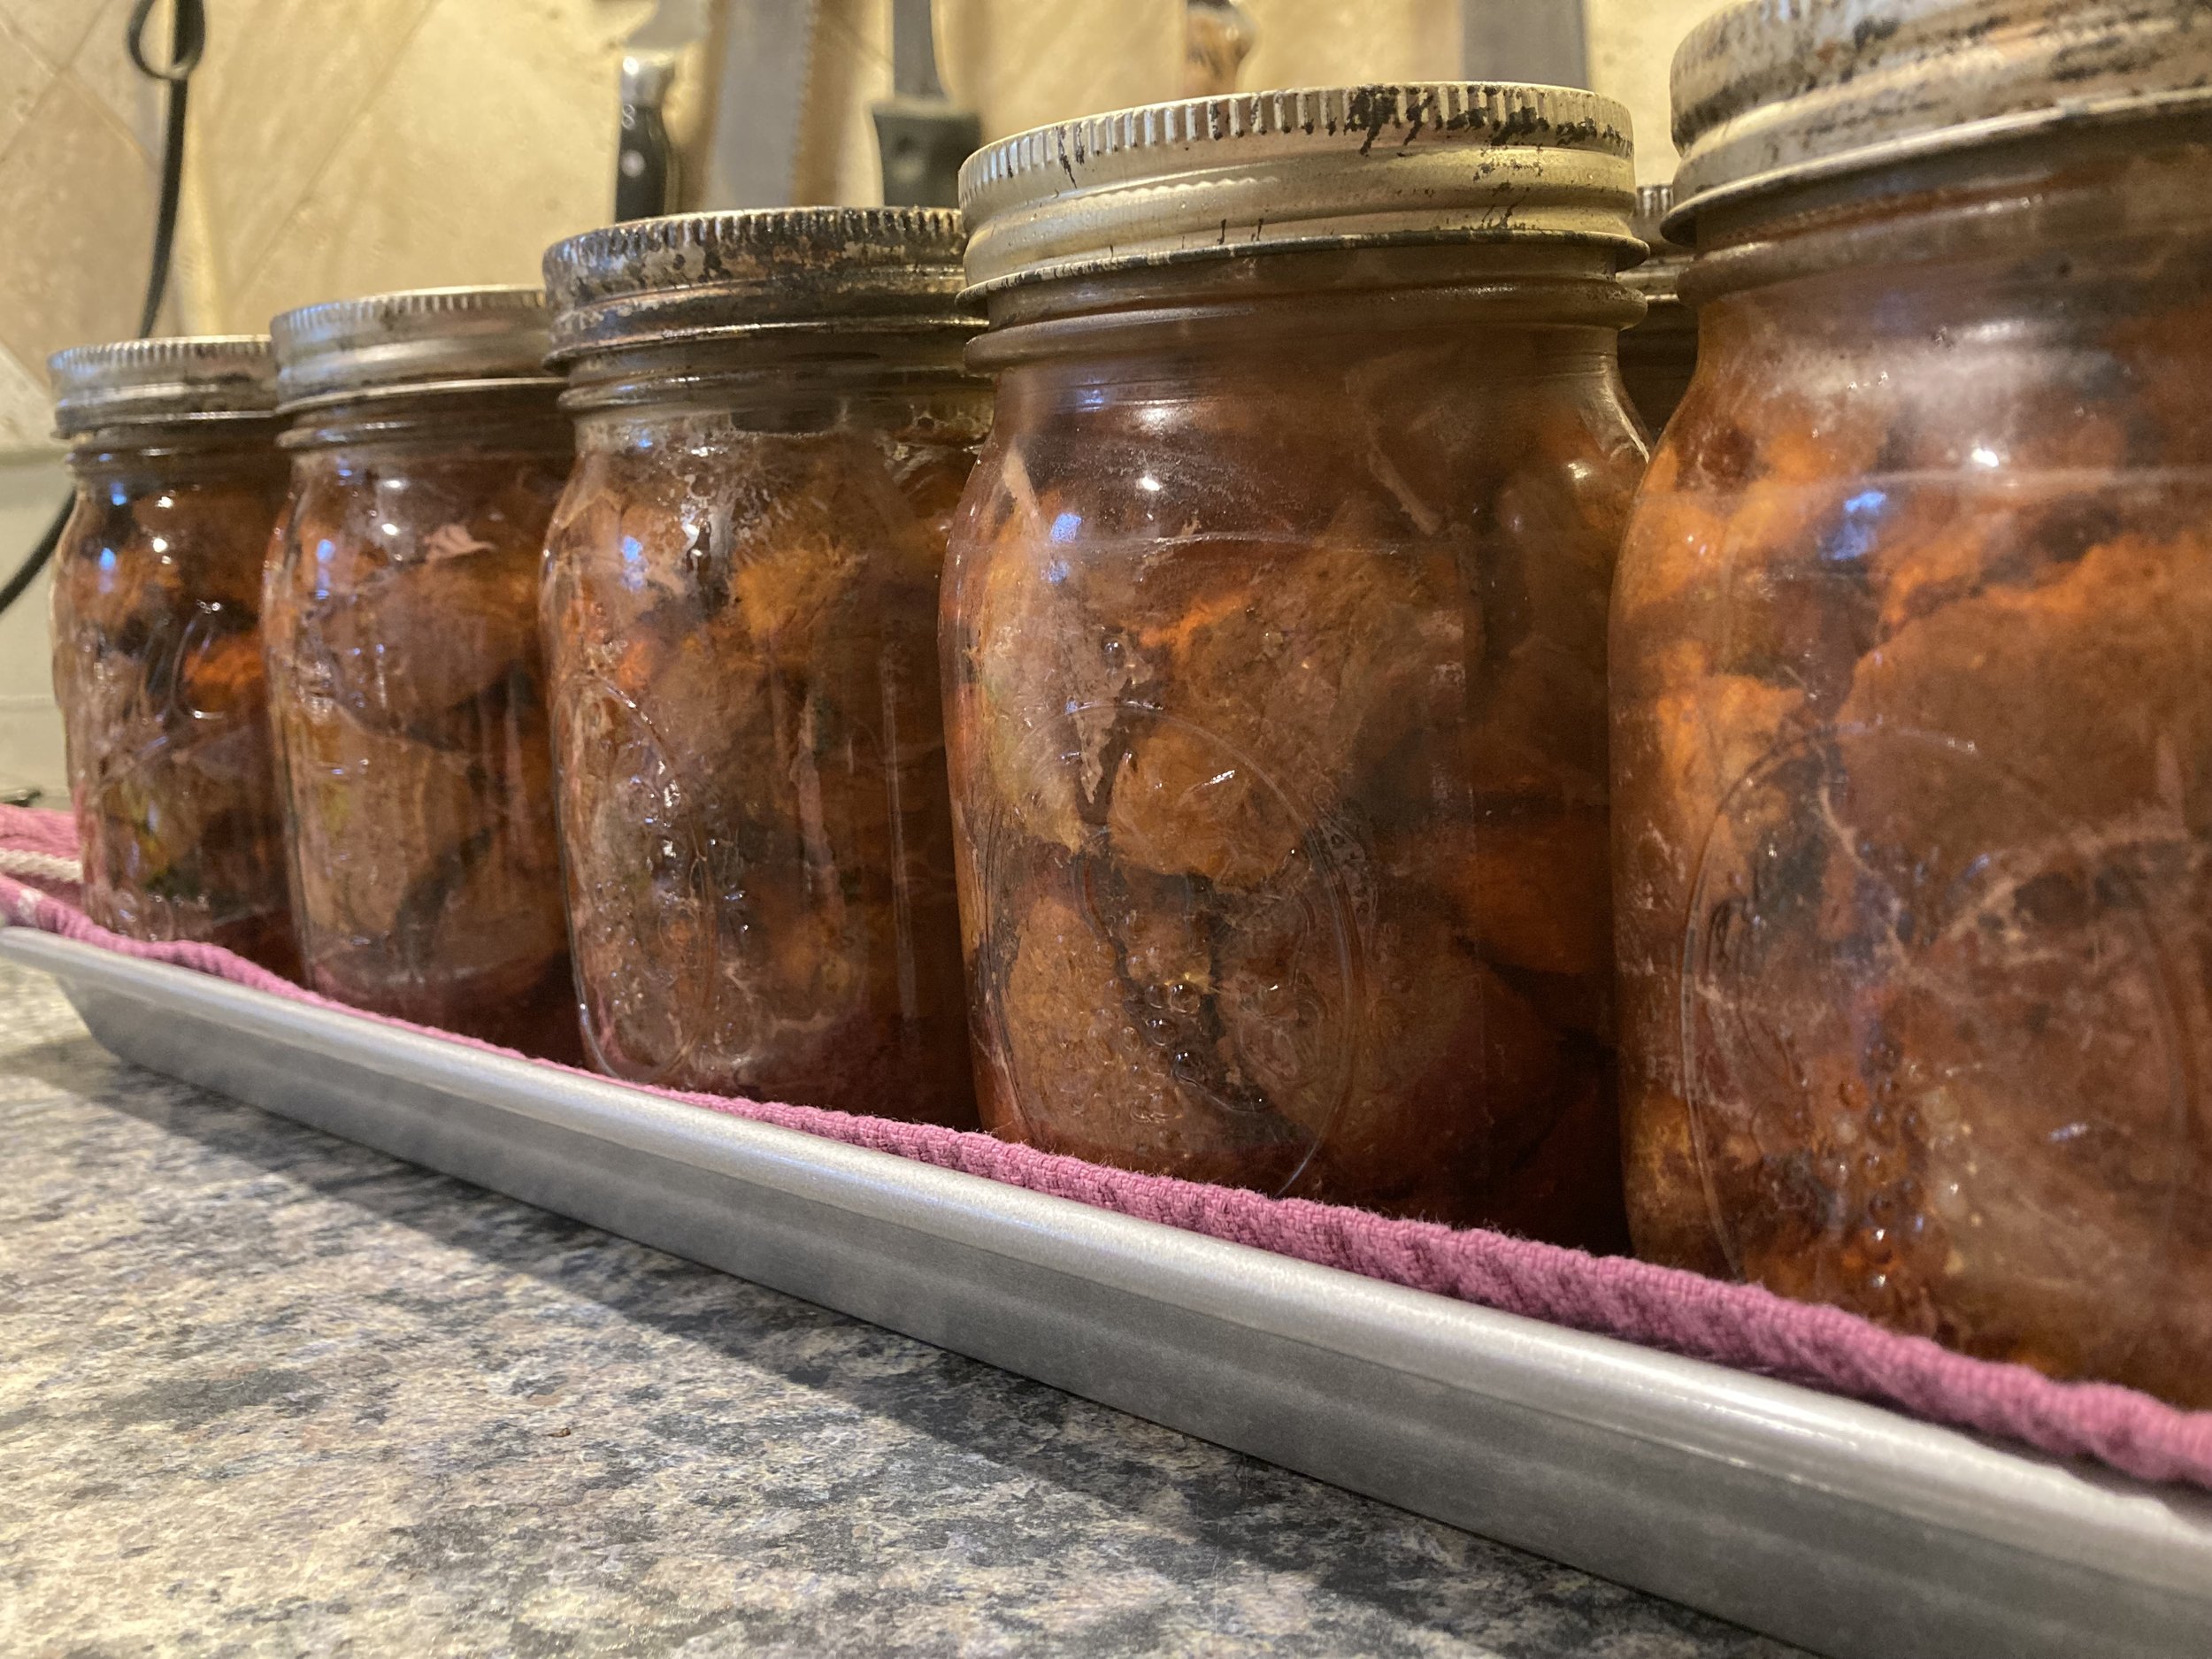
Allow your jars to cool for 2 hours and then check to make sure they have all sealed. If any have not sealed, just toss those in the refrigerator and use within a few days.
Once the jars are completely cooled I like to remove the rings and wipe them down with a cleaning rag. This will clean up any grease that may have syphoned out of the jars.
I always store my jars without the rings. Once the jars have sealed the rings are no longer needed. This will let me know faster if any jars have popped or lost their seals. Depending on storage, it is possible for a jar with the ring to lose its seal, and then reseal. This will result in spoiled food in a sealed jar! You do not want that to happen


